
Honda Civic 11th Gen 2021 Dark Night MAX Body Kit Install Guide

This guide follows the Yofer video for the Honda Civic 11th Gen 2021 Dark Night MAX Body Kit on the 11th-gen Honda Civic sedan. The video's kit includes a full replacement front bumper with DRLs, Sport side skirts, rear corner pieces, a Sport rear lip with a center light, and a rear wing.
Our listing includes the front bumper, side skirts and rear diffuser, with other items available at extra cost. The video also shows rear corner pieces and a wing. Check the product page for what your kit contains.

Watch the full installation
The captions in this video are in Chinese (with Mandarin narration); the written steps below are in English.
What you'll need
Front bumper left/right bodies, fog light surrounds, grille, center trim, left/right trim panels, upper covers (left/center/right), under-panel and license plate frame
Sport side skirts, rear corner pieces, Sport rear lip, center light, plug-in harness and rear wing
The installation hardware pack, including U-nuts and metal clips
Adhesion promoter, double-sided tape, a cordless driver and a trim tool
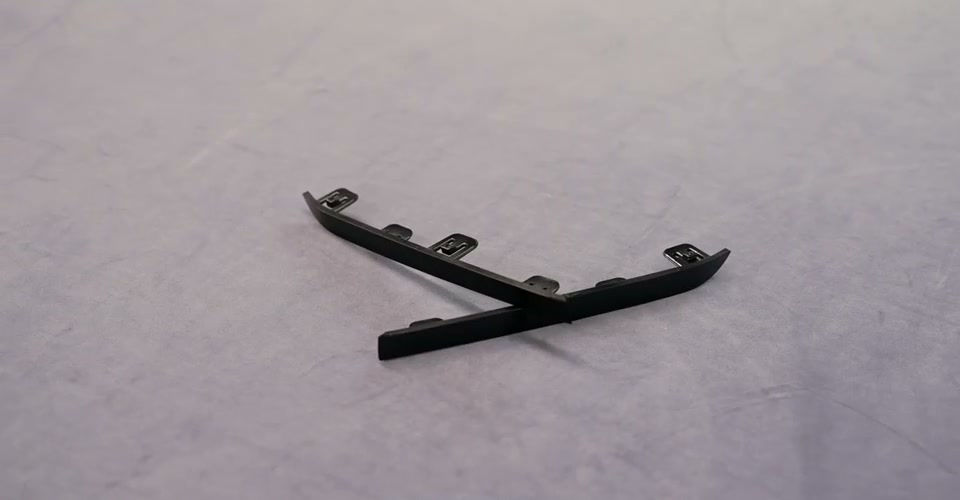
Part 1: Assemble the front bumper
Step 1: Fog light surrounds and trim. Clip the fog light surrounds into the bumper body. Then clip the left and right trim panels onto the bottom.

Step 2: Grille. Insert U-nuts at both ends of the bottom of the grille. Clip the grille into the bumper body and fasten it at the rear screw posts and bottom U-nuts.

Step 3: Center trim. Insert U-nuts along the bottom of the bumper and clip the center trim onto the grille. Don't fully tighten the bottom screws yet. The video tightens them only after the bumper is on the car and the gaps are adjusted.

Step 4: Upper covers and clips. Assemble the upper covers, join them to the grille, and secure them at the rear screw posts. Push metal clips into the slots on the back of the bumper as secondary retention. Insert U-nuts into the back of the fog light surrounds.
Step 5: DRLs and under-panel. Feed the DRLs and harness through the vent opening and fasten the brackets with screws. Clip the under-panel to the bottom of the bumper.
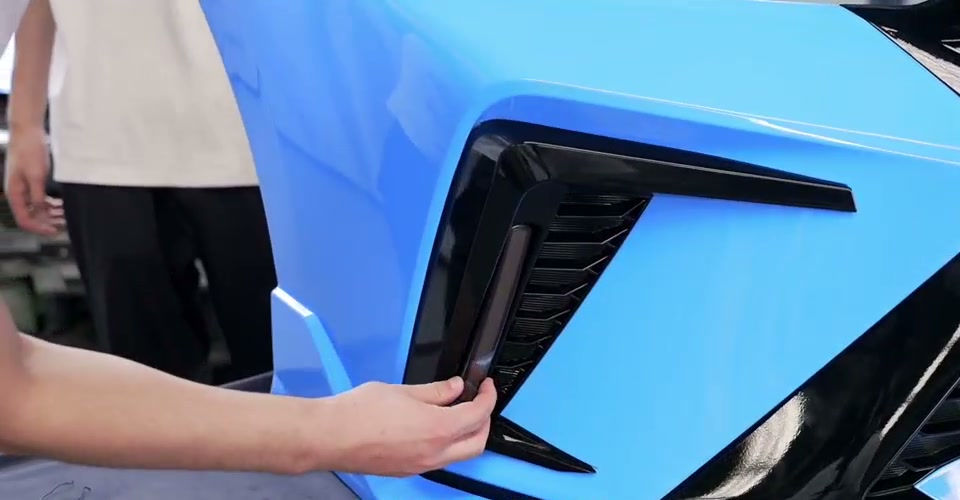
Part 2: Fit the front bumper
Step 6: Wire the DRLs. Run the harness under the headlight into the engine bay and plug it into the factory headlight connector, then tidy the wiring.

Step 7: Mount and finish. Fit the bumper in its factory position and fasten the side clips. Push both ends of the upper cover into the fender slots and clip them in. Refit the factory rubber seal, which is held by clips underneath and screws on both sides.

Part 3: Tape prep for the rear parts
Step 8: Prep the taped parts. For the side skirts, rear corner pieces, rear lip, center light and wing, clean the surfaces, wipe on adhesion promoter, and apply double-sided tape at the marked areas.
Part 4: Side skirts
Step 9: Fit the skirts. Clean the body bonding area and wipe on adhesion promoter. Pull out the tape tabs, test-fit, then peel the liner and press. Secure the front and rear at the wheel-well liners with self-tapping screws.


Part 5: Rear corner pieces
Step 10: Fit the corners. Wipe on adhesion promoter, pull out the tabs, test-fit, then peel and press. Fasten the liner with self-tapping screws, plus the screws underneath.

Part 6: Rear lip and center light
Step 11: Fit the lip. Clean and promote the bonding area, pull the tabs, test-fit, then peel and press. Drive self-tapping screws under the left and right ends.

Step 12: Wire the light. Remove the left tail light. Feed the center-light connector up from under the bumper into the tail-light wiring hole and plug it into the tail-light connector.

Part 7: Rear wing
Step 13: Fit the wing. Wipe on adhesion promoter and test-fit. Center the wing so the gap to each side of the trunk lid is equal, then peel the liner and press.


Tip: the tape and adhesion-promoter routine
Every taped part in this video gets the same sequence: clean, adhesion promoter, pull out the tape tabs, test-fit, peel, press. Test-fitting before you peel matters most on the wing, where the video measures for an equal gap on both sides. Check your promoter and tape instructions for drying time and temperature limits, which the video doesn't state.
FAQ
Do I need to drill holes in my car?
No drill is used, but several self-tapping screws go straight into plastic: at the front and rear of each side skirt into the wheel-well liners, at the rear corner pieces into the liner, and under each end of the rear lip. They're driven in with no pilot hole, so each one makes a small hole in the plastic liner or bumper edge. The front bumper itself uses only factory clip and screw points. If a screw point doesn't line up on your car, contact us before you drill anything. Our Returns policy doesn't cover damage caused during installation.
Will it fit the 2025 Civic refresh?
Yes. The Yofer catalog lists the Dark Night MAX kit for the 2022-2026 Civic sedan, which includes the 2025 refresh shown in this video. For our other refresh kits, see the Honda Civic 11th Gen Restyling 2025 page.
Does it fit the hatchback?
This kit is for the sedan. See our Civic Hatchback guide for the hatchback kit.
What if a part arrives damaged, defective or wrong?
Inspect your order when it arrives. Our Returns policy explains how to report damage or defects, the deadline for reporting, and what isn't covered (for example, damage caused during installation). Delivery times and details are on our Shipping policy page.
Installation steps follow the manufacturer's video and are for reference only. Fitment, hardware and required work can vary by vehicle. For what's covered if a part arrives damaged or defective, see our Returns policy; for delivery details, see our Shipping policy. If you're not comfortable doing the work, have a professional install the kit.


Comments